Drywall Ceiling Repair Naperville IL: Expert Tips for a Flawless Restoration
SEO Meta-Description: If you're seeking expert advice on drywall ceiling repair in Naperville, IL, you've come to the right place. This comprehensive guide covers everything you need to know about repairing your ceiling, offering insights, tips, and FAQs to ensure a successful restoration.
Introduction
Drywall ceilings are a common feature in many homes, providing a smooth and clean finish to interior spaces. However, accidents happen, and sometimes these ceilings can sustain damage due to water leaks, cracks, or other unforeseen circumstances. When you encounter such issues, it's essential to address them promptly to prevent further deterioration and maintain the aesthetic appeal of your living spaces.
In this long-form article, we will explore the ins and outs of drywall ceiling repair in Naperville, IL. We'll delve into the steps required to fix various types of damage, highlight essential tips for a successful restoration, and share valuable insights based on first-hand knowledge and expertise.
Drywall Ceiling Repair Naperville IL: Understanding the Basics
Before we dive into the specifics of repairing drywall ceilings, let's take a moment to understand the fundamentals of this versatile material.
What is Drywall?
Drywall, also known as plasterboard or wallboard, is a widely used building material made from gypsum and other additives sandwiched between two layers of paper. Its popularity stems from its ease of installation and cost-effectiveness, making it a popular choice for ceilings and walls in residential and commercial construction.
Common Causes of Drywall Ceiling Damage
Understanding the root causes of drywall ceiling damage can help you take preventive measures and identify appropriate repair techniques. Some common reasons for ceiling damage include:
- Water Leaks: Roof leaks, plumbing issues, or excessive moisture can lead to water damage on the ceiling, resulting in stains, sagging, and structural weakness.
- Settling or Shifting: Over time, buildings can settle, causing cracks and fissures in the drywall.
- Impact Damage: Accidents, falling objects, or heavy impacts can cause holes and dents in the ceiling.
- Humidity and Mold: High humidity levels can promote mold growth on the ceiling, leading to discoloration and health hazards.
The Repair Process: Step-by-Step Guide
When it comes to drywall ceiling repair, following a systematic approach is crucial to achieve the best results. Here's a step-by-step guide to help you through the process:
1. Safety First
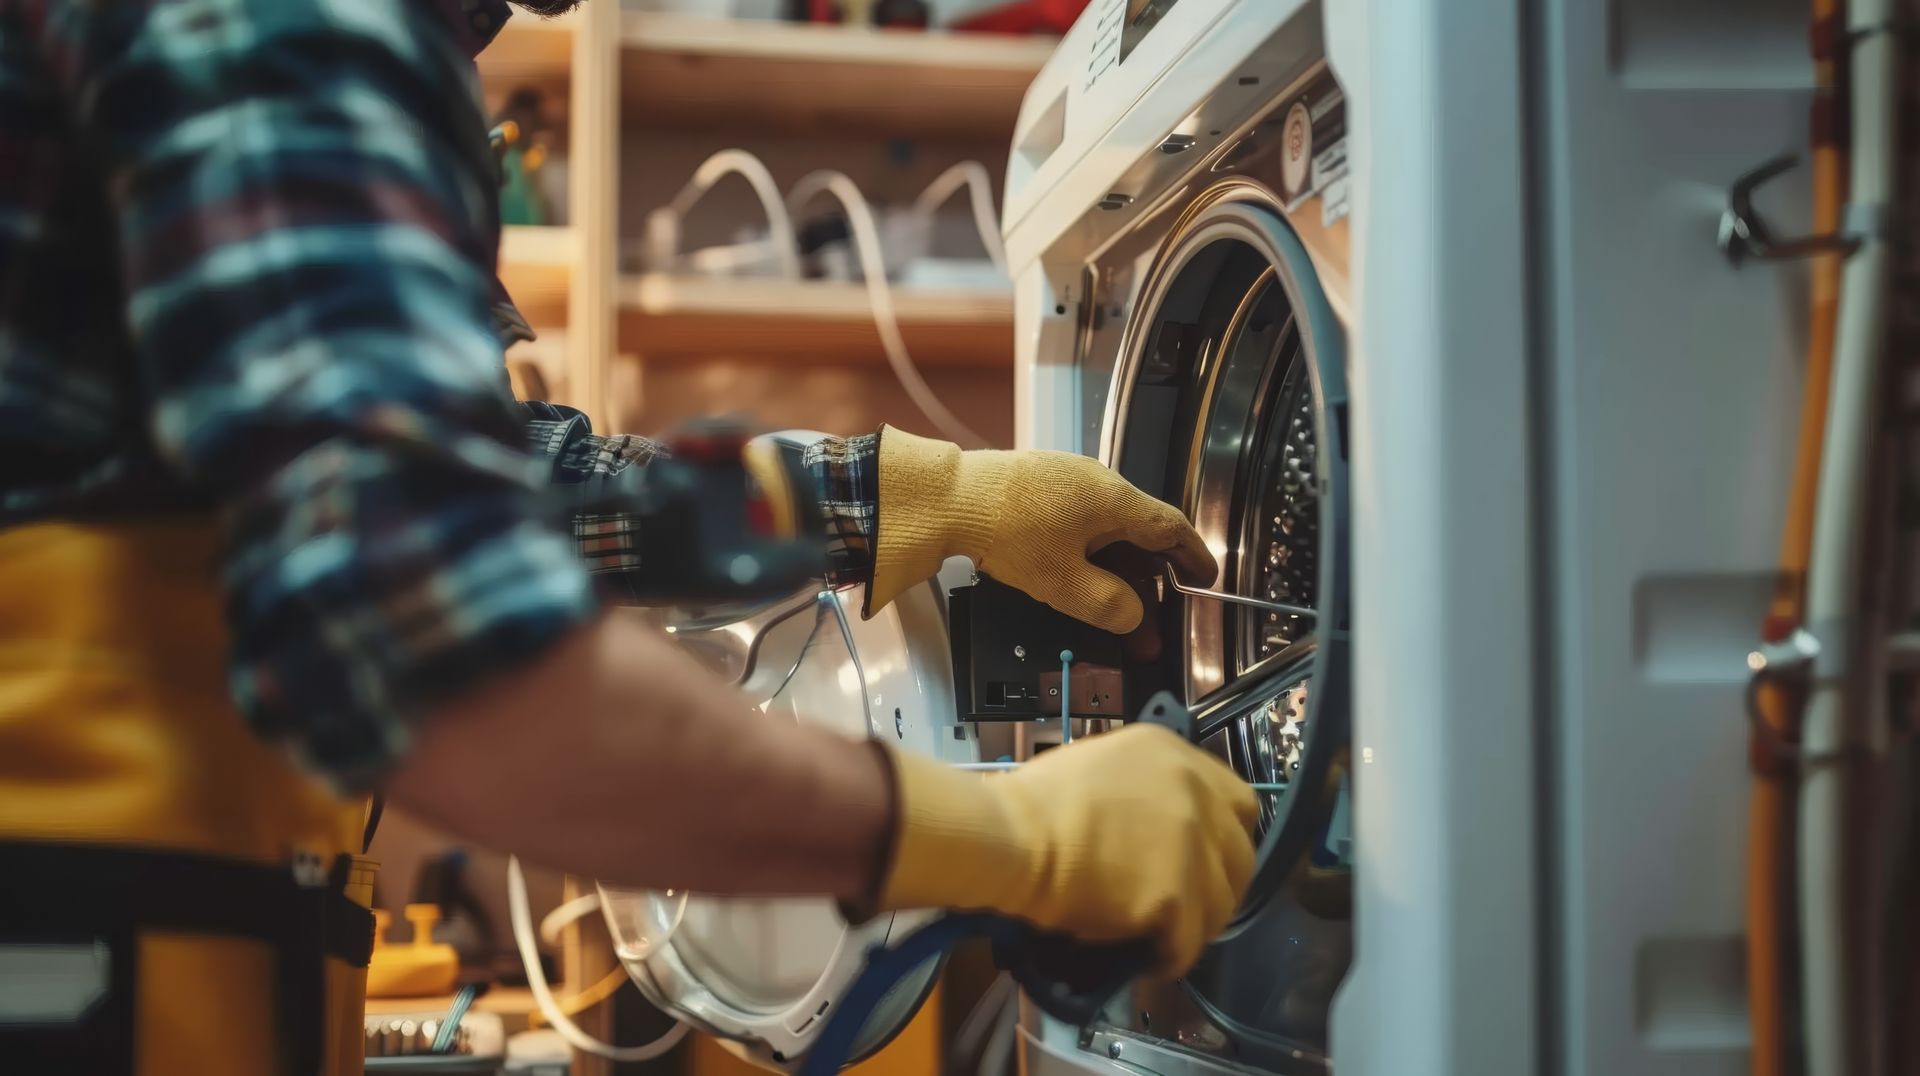
Before starting any repair work, prioritize safety. Ensure you have proper personal protective equipment (PPE) such as goggles, gloves, and masks to protect yourself from dust, debris, and potential allergens.
2. Assess the Damage
Carefully inspect the ceiling to assess the extent of the damage. Identify cracks, holes, water stains, or any other signs of deterioration. This evaluation will help you determine the appropriate repair techniques.
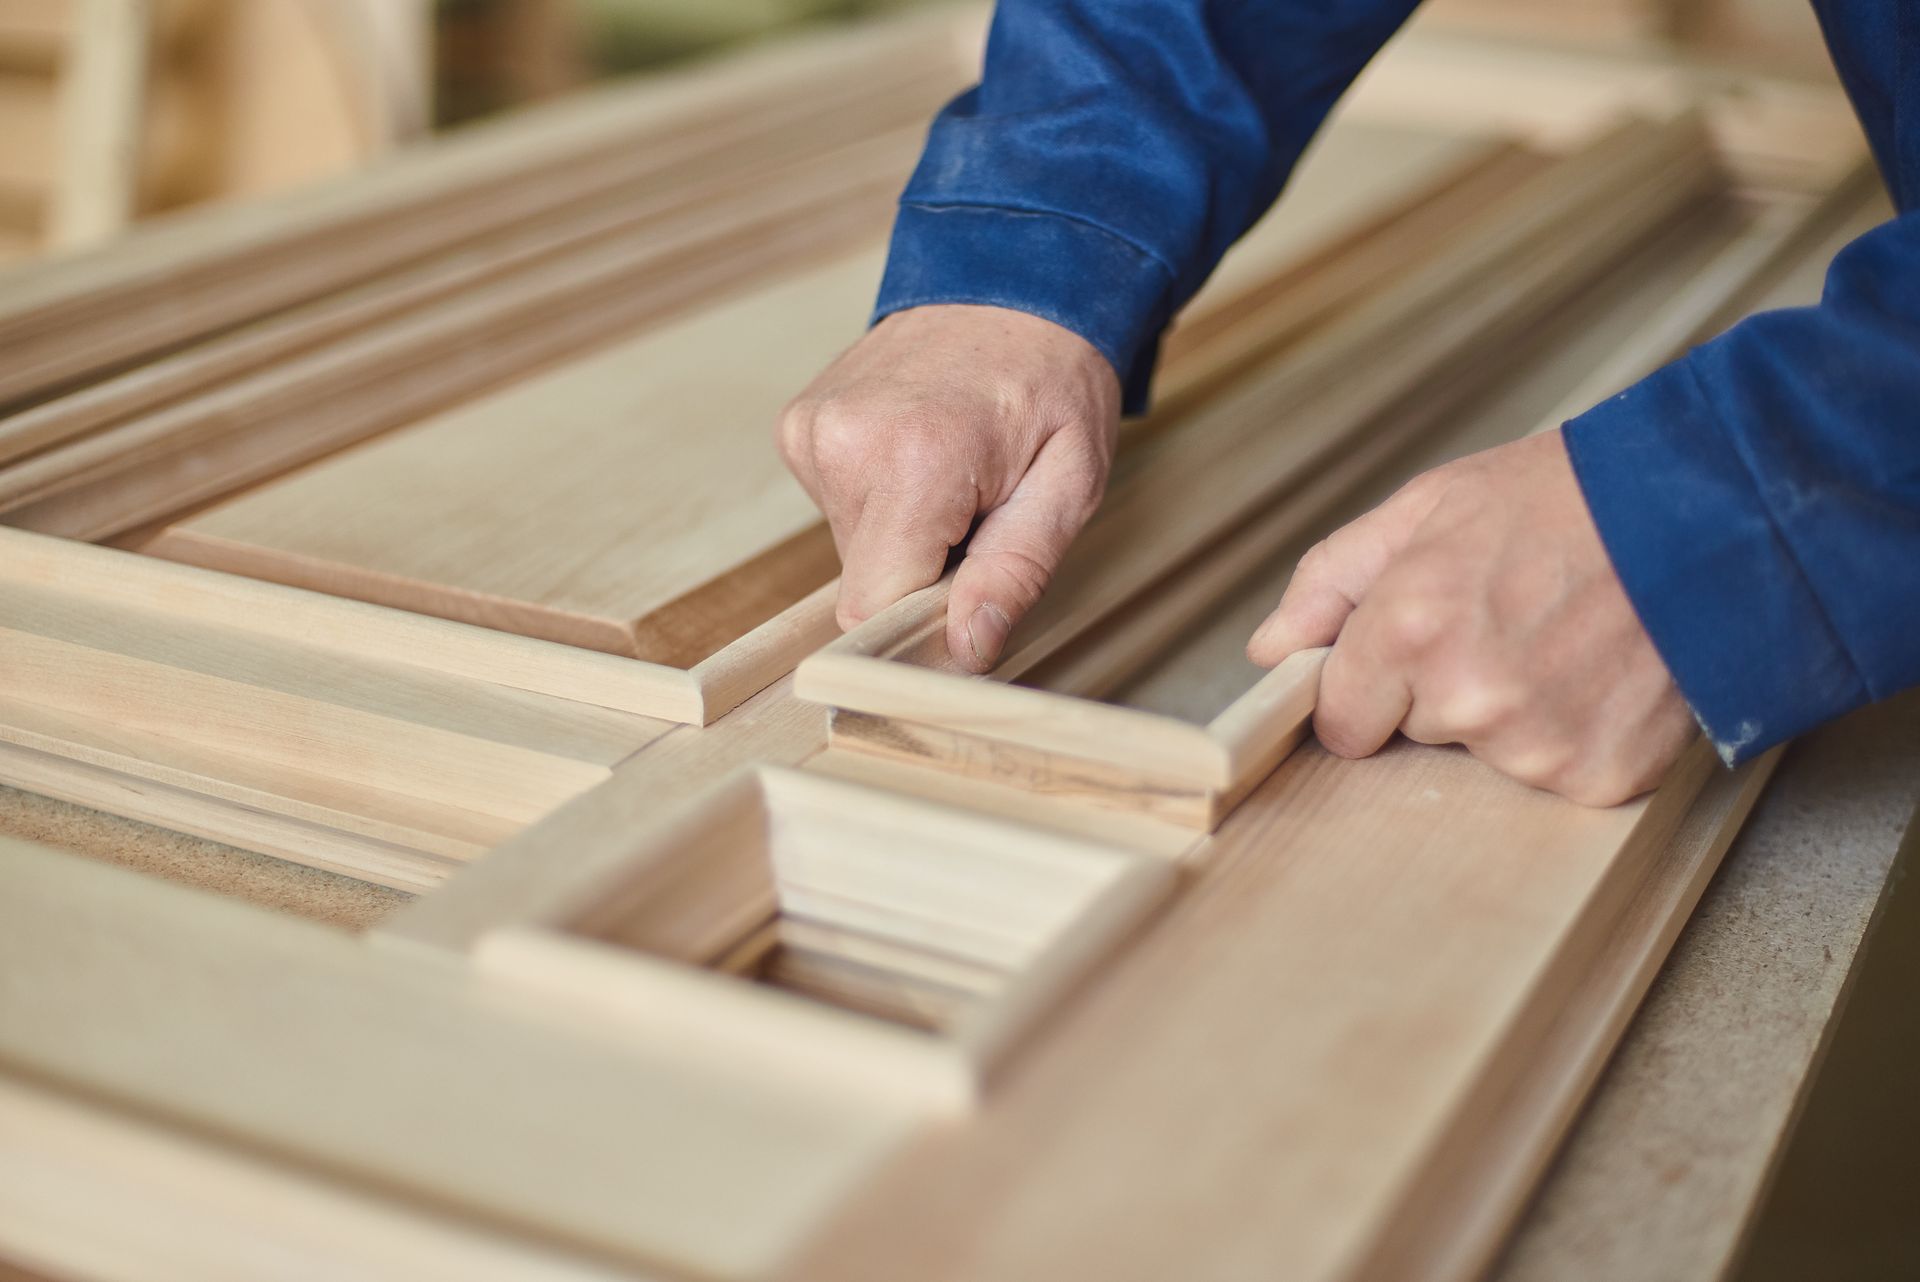
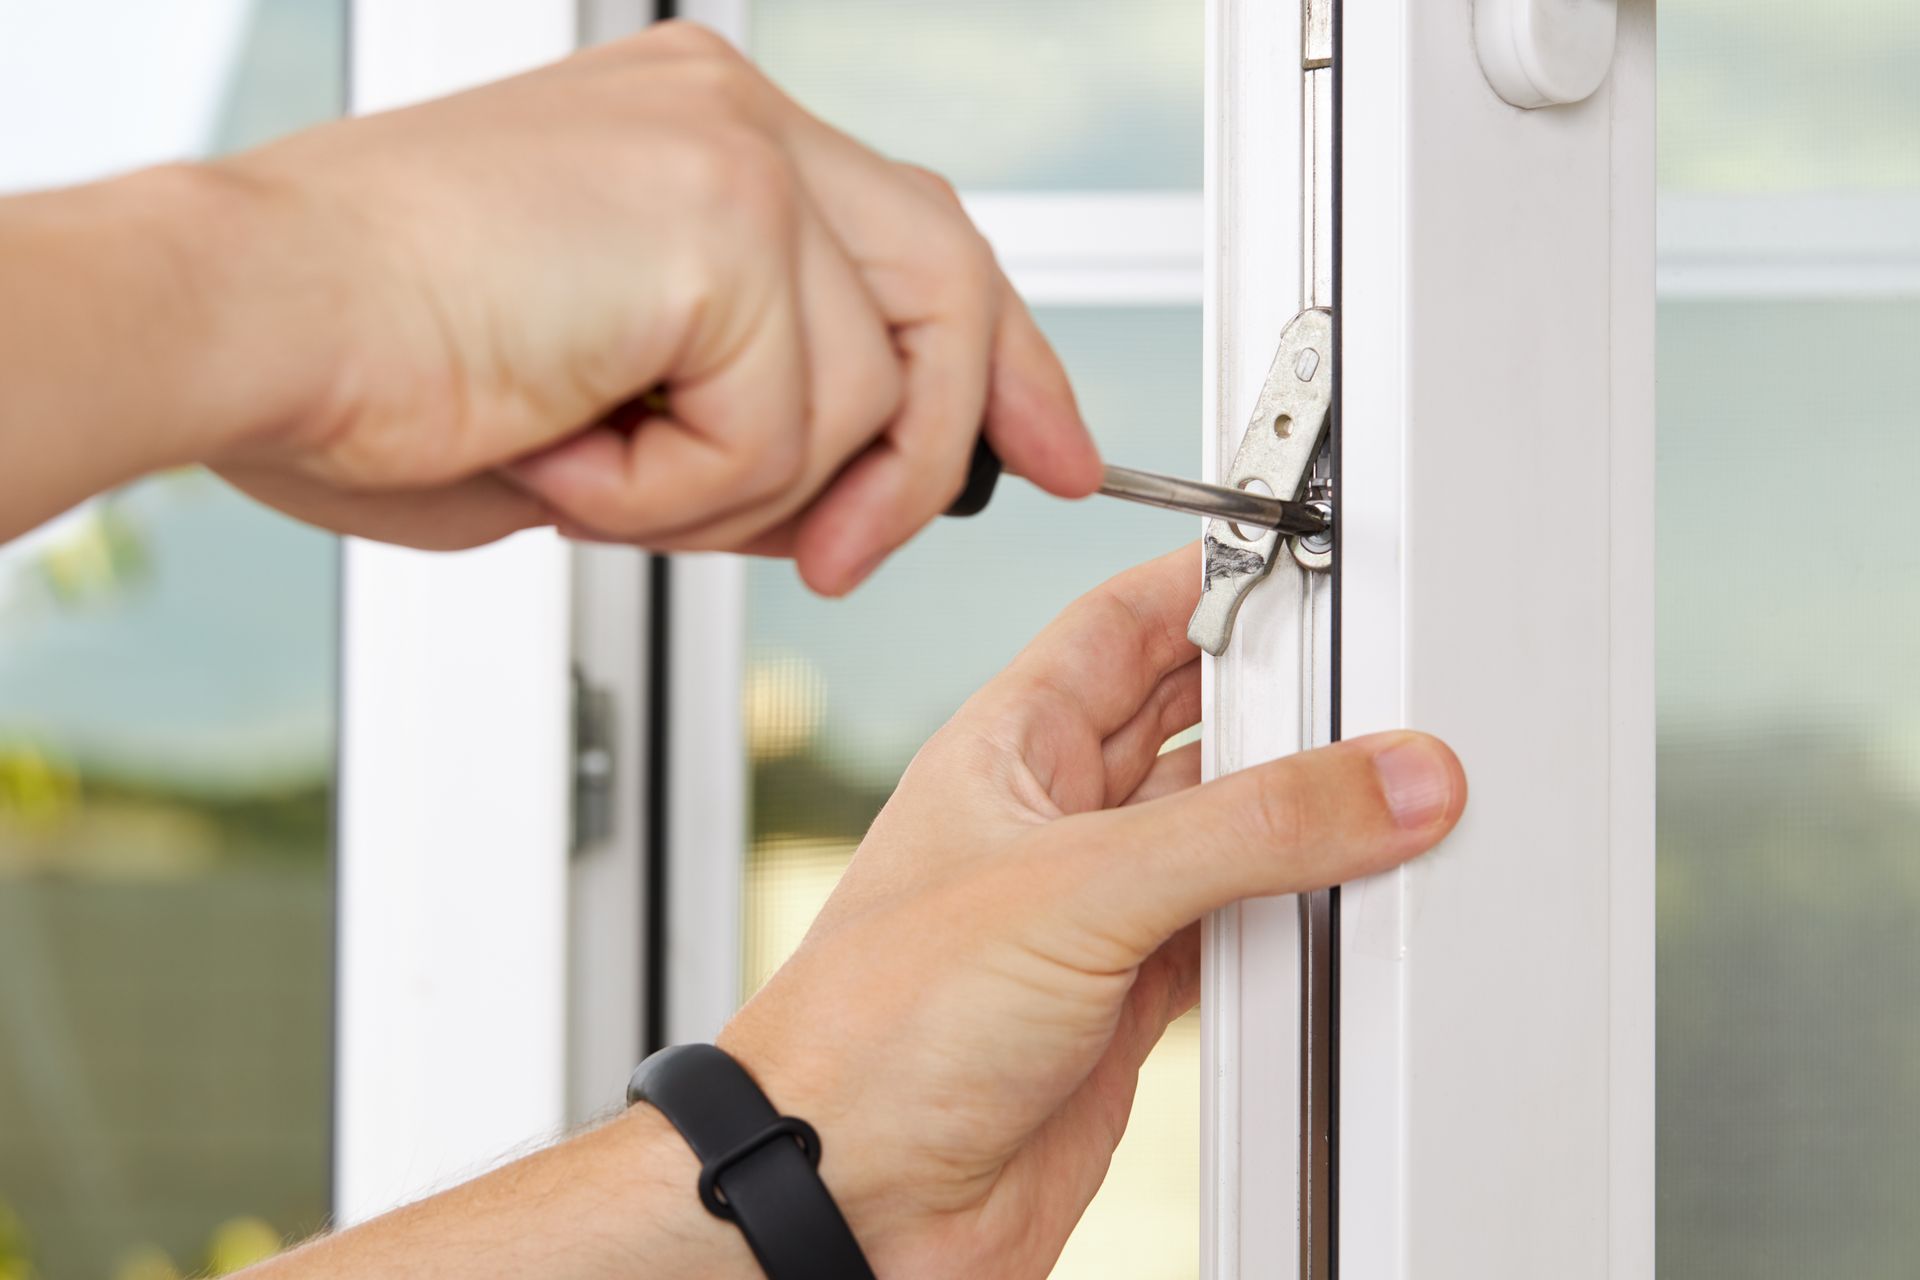
3. Gather the Necessary Tools and Materials
To facilitate a smooth repair process, gather all the required tools and materials beforehand. Some essential items include drywall patches, joint compound, sandpaper, putty knife, screws, and a drill.
4. Prep the Area
Clear the area beneath the damaged ceiling and cover furniture and floors with drop cloths to prevent any debris from causing further mess.
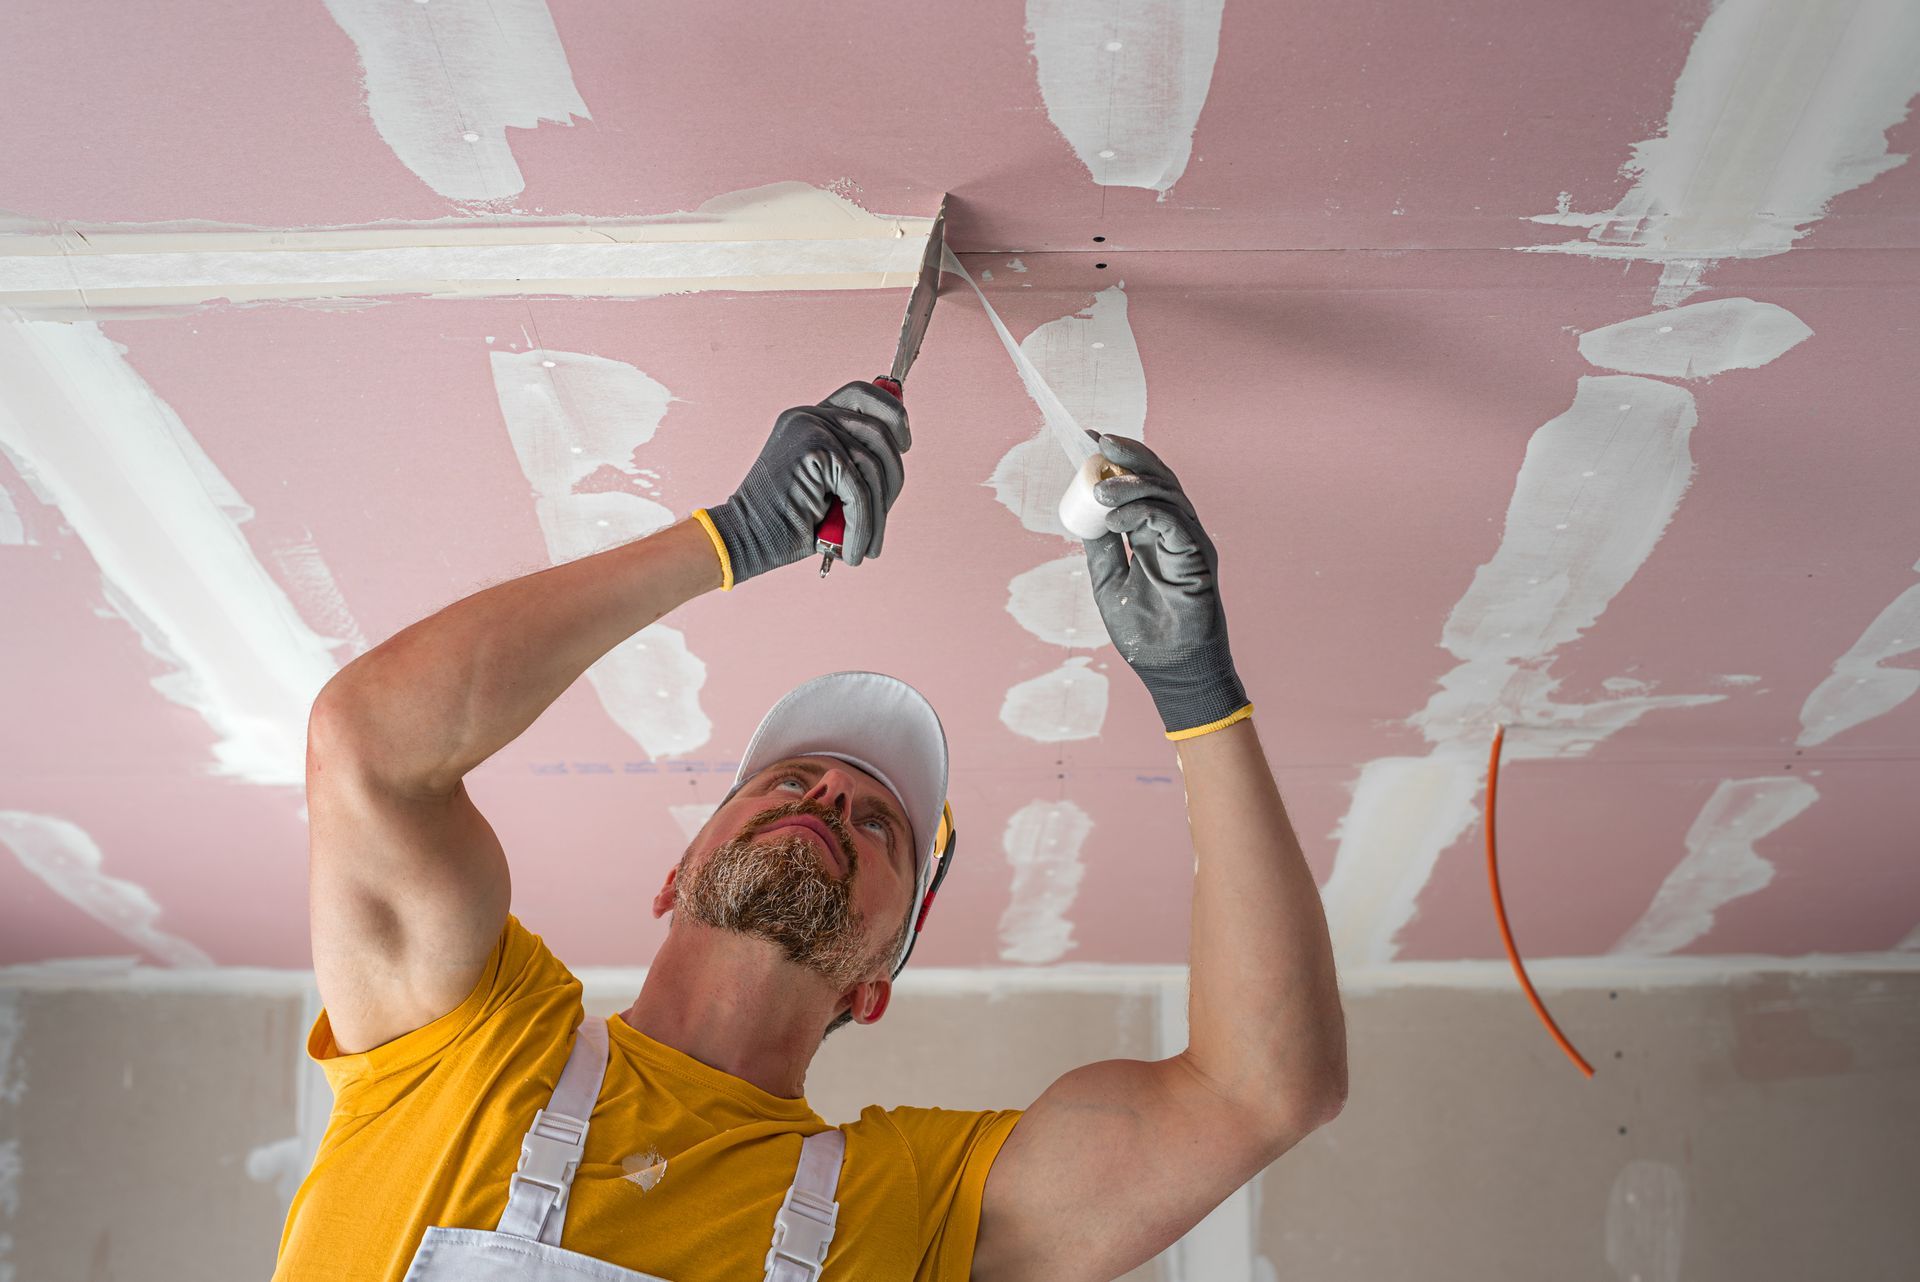
5. Fix Small Holes and Cracks
For small holes and cracks, use joint compound to fill in the damaged areas. Apply the compound using a putty knife, and let it dry as per the manufacturer's instructions. Sand the patched areas until they are smooth and even with the surrounding ceiling.
6. Repair Large Holes
For larger holes, use a drywall patch kit. Cut the patch to fit the hole, secure it in place with screws, and apply joint compound over the patch. Smooth out the compound, let it dry, and sand it down for a seamless finish.
7. Address Water Damage
If your ceiling has water stains, it's essential to address the underlying issue causing the leakage before repairing the drywall. Fix the source of the water problem and let the affected area dry completely before proceeding with the repair.
8. Texture Matching
Matching the texture of the repaired area with the existing ceiling texture can be challenging. Consider hiring a professional if you're unsure about recreating the texture effectively.
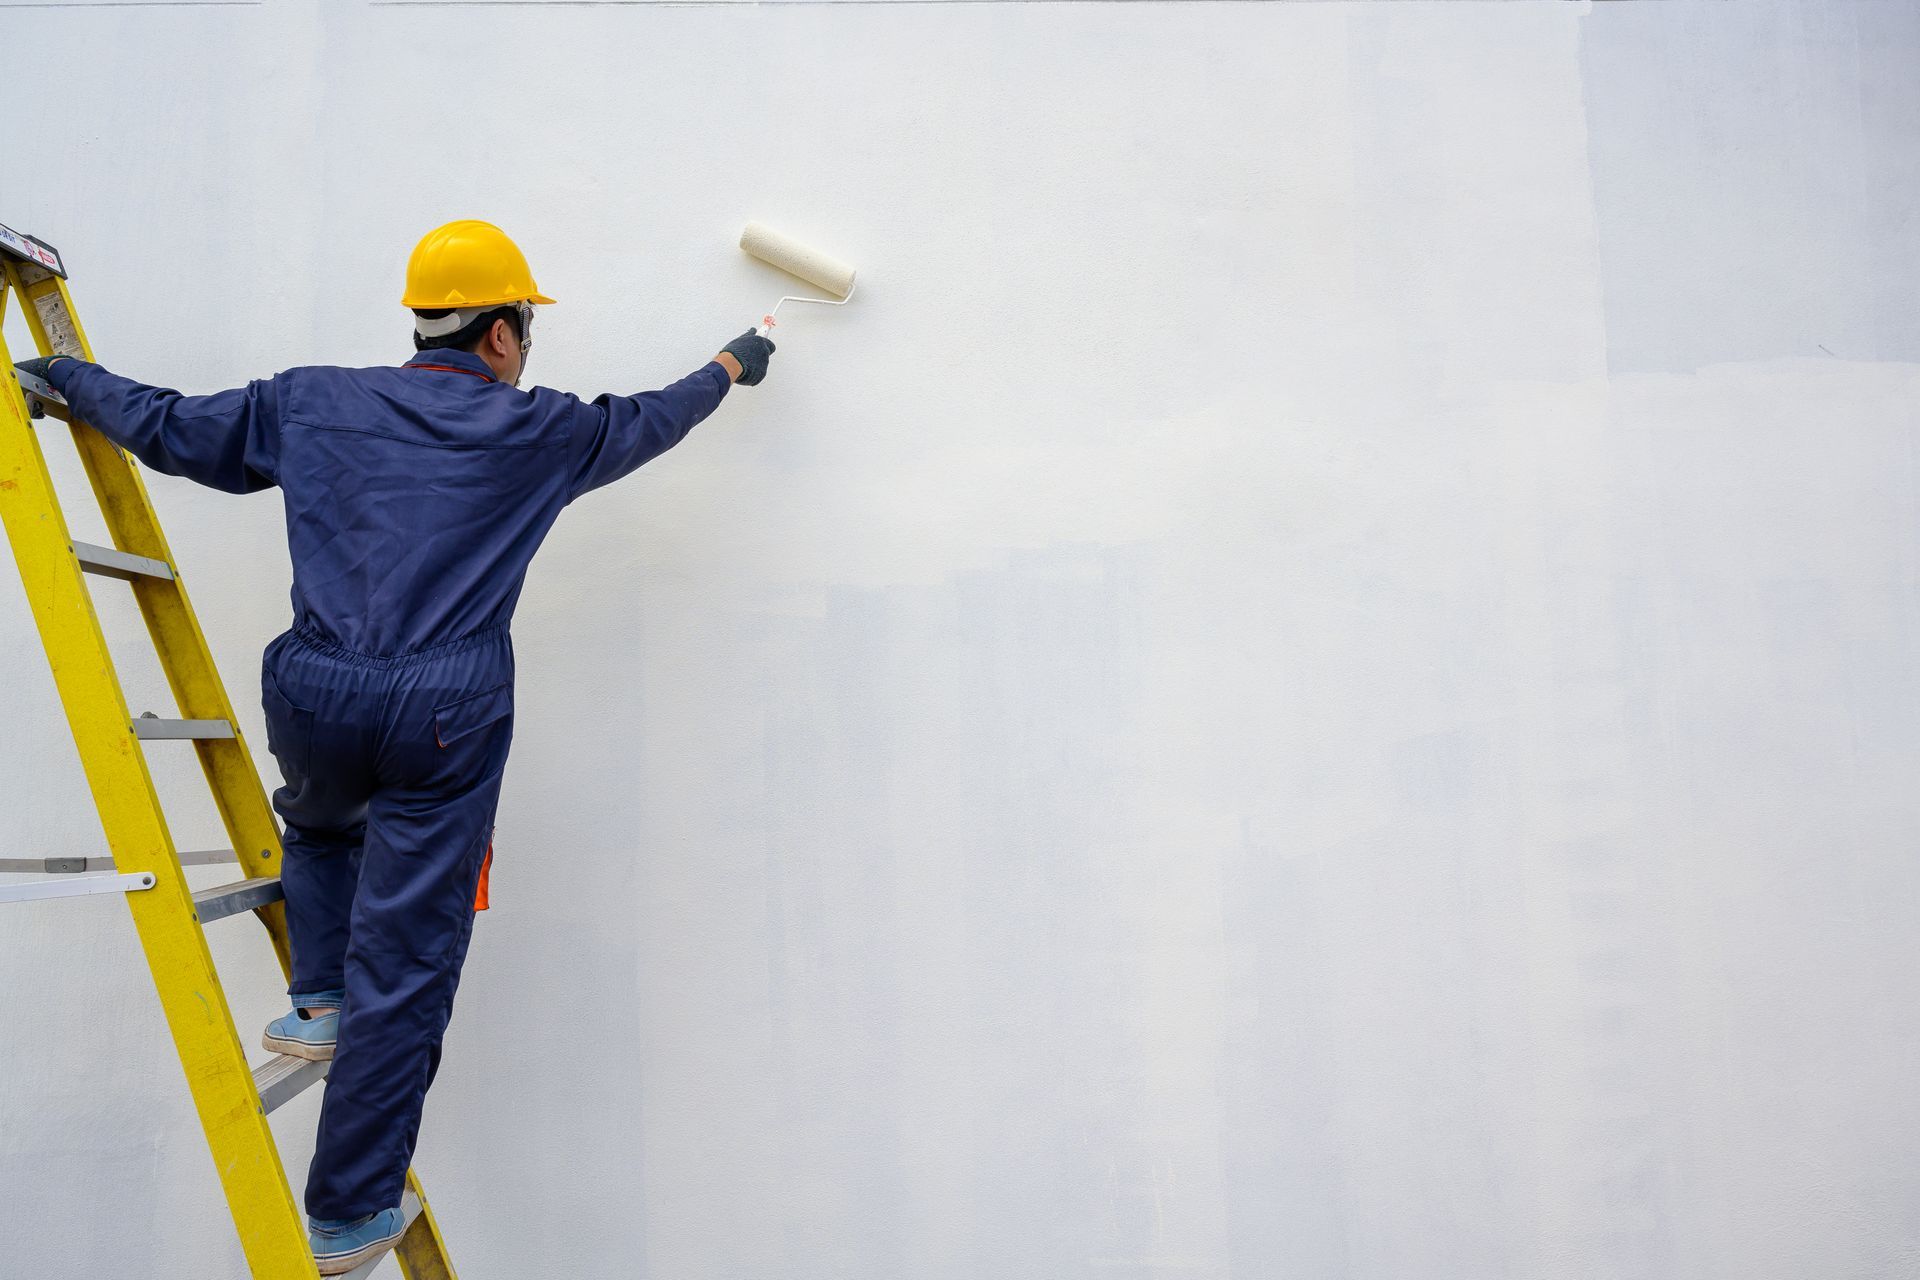
9. Prime and Paint
Once the repair work is complete and the joint compound has dried and been sanded, apply a coat of primer to the patched areas. After the primer dries, paint the entire ceiling to ensure a uniform appearance.
10. Final Inspection
Perform a final inspection to ensure all repairs are seamless and the ceiling looks as good as new.
Expert Tips for a Flawless Drywall Ceiling Repair
Achieving a flawless drywall ceiling repair requires attention to detail and a few expert tips can make the process smoother. Here are some valuable tips to consider:
1. Use Setting-Type Joint Compound
When repairing larger holes, opt for setting-type joint compound. It dries faster and is more durable than the ready-mixed variety, ensuring a long-lasting repair.
2. Feather the Edges
To achieve a seamless finish on patched areas, feather the joint compound outwards from the patch, blending it with the surrounding ceiling. This technique helps avoid noticeable edges and bumps.
3. Sand Between Coats
If your repair requires multiple coats of joint compound, sand each layer lightly before applying the next. This ensures a smooth surface and reduces the need for excessive sanding later.
4. Test Texture Replication
Before applying texture to the repaired area, test the technique on a spare piece of drywall or cardboard. This practice will help you perfect the texture match before attempting it on the ceiling.
5. Consider Hiring a Professional
If you're unsure about your repair skills or the texture matching process, don't hesitate to seek professional help. Experienced contractors can ensure a flawless and visually appealing repair.
6. Address Water Leaks Promptly
To prevent recurring ceiling damage, address water leaks as soon as you notice them. Prompt action can save you from extensive repairs and mold-related health issues.
Frequently Asked Questions (FAQs)
Q: Can I repair a water-damaged drywall ceiling myself?
A: Yes, you can repair a water-damaged drywall ceiling yourself if the damage is minimal. However, if the damage is extensive or if you're unsure about the extent of the water intrusion, it's best to consult a professional.
Q: How long does it take for joint compound to dry?
A: The drying time of joint compound depends on the type and brand. Generally, it takes 24 to 48 hours for a layer of joint compound to dry completely.
Q: Can I use spackling paste for larger holes in the ceiling?
A: Spackling paste is suitable for small holes and cracks but may not provide the necessary strength and durability for larger holes. It's best to use setting-type joint compound or a drywall patch kit for larger repairs.
Q: Will a repaired area on the ceiling be noticeable after painting?
A: With proper patching and texture matching, the repaired area should blend seamlessly with the rest of the ceiling and be nearly invisible after painting.
Q: How often should I inspect my drywall ceiling for damage?
A: It's a good idea to inspect your drywall ceiling at least once a year for any signs of damage. Regular inspections can help you catch minor issues early and prevent costly repairs.
Q: Can I paint the ceiling immediately after patching?
A: It's essential to allow the joint compound to dry completely before painting. Follow the manufacturer's guidelines for drying times, which typically range from 24 to 48 hours.
Conclusion
Repairing a drywall ceiling in Naperville, IL, doesn't have to be an overwhelming task. With the right tools, materials, and expert tips, you can restore your ceiling to its former glory and maintain a beautiful living space.
Remember to prioritize safety during the repair process and address underlying issues like water leaks promptly. For extensive damage or complex texture matching, consider seeking professional assistance to ensure a flawless finish.
Armed with the knowledge provided in this guide, you can confidently tackle drywall ceiling repair and enjoy a stunning and functional ceiling for years to come.